Tuesday, 28 June 2016

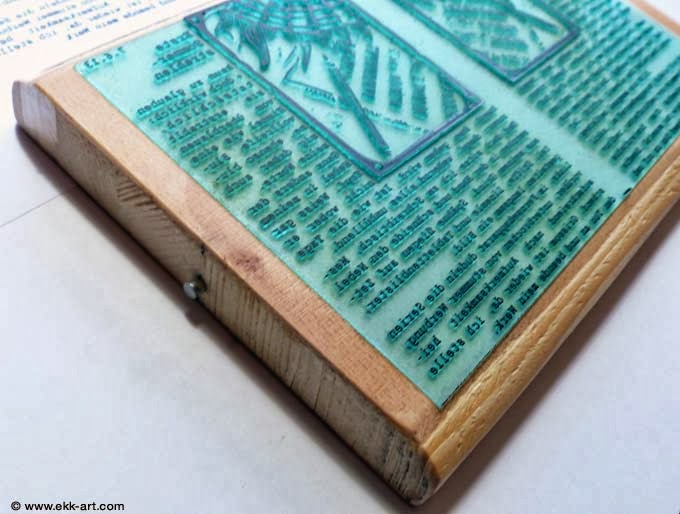
The last secret of Thermofax screen-printing.


Lucky inhabitants of St.Gallen/Switzerland.
They can book a course "Thermofax-Printing".
Next more about the latest news of this simple print-tech.
More about the course: www.kurse-sg.ch

The simple printing with a Thermofax-Screen


The 2.nd color is printed

Monday, 29 September 2014

From a 3D-Print to a 2D-Print

I know, it sounds crazy, 
but on the other side it offers a lot of possibilities to people who works with letter-press.

Here the both printing machines:
left: a Replicator-Clone, right: an ADANA 8x5

Yes, I know, I had to flip the "cliché" horizontal ;-)
The design is made by "Blender" (my first trial),
printed with the 3D-Printer (+ grid)
high = 1.7 mm, mount on a plate of wood.

The Print.
After sanding the cliché (above) the print comes better...

My alternative is etching copper. That is more exactly, but needs more time.
So it can be an option to print the cliché with a 3D-Printer...

(You are invited to write here about your ideas, experiences.)

Friday, 9 May 2014

Sunday, Mai 18th: int. MuseumsDay

"Networking" is the theme of the international museums-day 2014.
Our network begins in the "Museum Point Jaune", St.Gallen, Switzerland.
Whats will happen then:
For our visitors we have the unique "Klappbügel-Presse" prepared + some cliches.
Now they can print (letterpress) their graphic by choosing the pattern (cliches), the colors (CMYK) in the size of 8 cicero on paper 5 x 5 cm.
After, they will frame one print, take it to their home and take a photo of this inside their flat (or at an other famous location).
The pic will be send to the blog and published there together with a scan of the grafic.
The blog is open for discussion, suggestions,...

So, if you in St.Gallen at the int. Museums-Day, feel free to visit the Point Jaune - Museum, Linsebühlstr.77.

CU? ...would be nice
-ekk-

Thursday, 27 March 2014

Testprinting for the "International MuseumsDay" in the PostPost, St.Gallen/Switzerland

Martin Amstutz, PostPost-owner and printer/editor of the "Wochenblatt", this time at the Mini-Gutenberg-Press.

Julia, enjoying her new prints.

Hermann Reinfrank, printing, searching for new impressions.

The workspace: Mini-Gutenberg-Press, cliches, drying-stand.

The results of printing.

Friday, 13 December 2013

Finally Successful: Copper Etching

Do you know this feeling, when you know, you have practiced something once... but you did not remember how to do anymore? Same happened with me and the etching of copper.
But now, 10 years later, I've got the right prescription again, using photomask and FeIIIclorid.
Some samples:
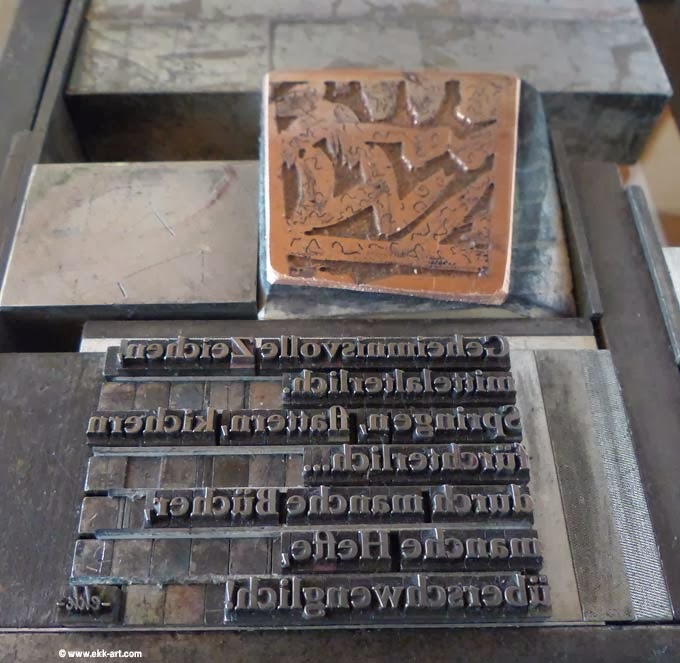
Letters and etched copper-cliché
This cliché I've etched into a deep of 0.4mm. For small letterpress clichés just enough.

Embossing cliché

For this embossing cliché I used a 2mm copper-plate and a etching of 0.7mm. In future will use 1.5mm copper-plates for better fitting on the letter-press metal-blocs.
Another problem, you can see here: the holes in the surface of the cliché. The ink-jet-printer did not print a closed surface. Because of the long etching-time also the micro-dots in the surface became a deep.
But now, with a new type of ink-jet-film I could solve this problem. By the way: with analog film you will not get this problem ;-)

And now the result of the printing/embossing:

Printed with ADANA 8x5. Very used letters and less pressure, 'cause of the thin letters in the right corner.

...by the way, the etching of photo-clichés ist more simple, because you need a deep of about 0.1-0.2mm only:

The print:
Picture etching with 60lines/cm. White lines in the frame are made by hand. Printed with ADANA 5x8.
The problem:
Paint-splatter in the red marked area.
...because of the low etching, paint-splatter gathering in the deepest area of the cliché.
This parts must be cutten deeper by hand, after etching...

I would be happy, if you tell me about your success and problems of cliché-etching.
Have a nice print-time.
-ekk-


Wednesday, 23 October 2013

Letterpress: Pimp Ur ADANA

Adana eight-five from 1953
Have you had ever the idea to print a book with your Adana 8/5?
Have you be frustrated because of the limitation of the printing-size?
I've been so. So I started pimping my Adana.
1. I made a block of wood in the size of the original Chase.
2. At the same place, where are the pins in the Chase, at the sides of the block I made a hole and turned 2 screws into. Then I cut the heads of the screws, but let a pin of 3 mm looking out of the side. I used 4.2mm screws, 4.9mm would fit better.
3. Removed the upper Inking Roller.
4. Put the block of wood into the slots of the Type Bed
5. Very careful, I watched the way of the single Inking Roller and sanded the block parallel to the Roller Bearer.
6. Took it off again and glued a piece of photopolymer in the size of 20 x 12 cm on the block.
7. Put ink on the Disk, inked the Roller and the Ink Disk smoothly.
8. Put the block with the letterpress-plate into the Adana again... and start printing!

The wooden block with "pin" and letterpress-plate.
As block I used 22mm wood, the letterpress-plate is about 1.5 mm.

One print in 20 x 12 cm = two pages... means book making with fun. For this test, I used the same text two times ;-)


Adana with the wood-block in the size of the Type Bed.

Indeed, a better size of the letterpress-plate would be 20.5 x 11.5 cm. 12 cm is a little bit too long, but the Roller could ink 20.5 cm!
  
What will come next?
I'm thinking to enlarge the both Roller Bearer... we will see...

It would be nice, to read about your experience with your Adana.

Monday, 21 February 2011

How it starts...


1975, Kunstverein/Hannover, Germany: stamped all over my skin, as protest against never changeable tattoos ;-)